Remove the white background from an image
White paper or one plain colour becomes transparent; lines and letters keep their smooth edges.
Drop files here
or click to choose from your deviceAccepted: JPG, JPEG, PNG, WEBP, AVIF, GIF, BMP, HEIC, HEIF
Up to 3 files per runUp to 20 MB per file5 runs per dayRemove limits with Pro✓ Works offline
Your files stay on your device
This tool runs entirely in your browser. Nothing is uploaded, nothing is stored, and you can even turn off your internet connection before you start.
Example
Example: a lightbulb graphic exported on white, made transparent for a dark slide
A JPG exported from a drawing app for a presentation: idea.jpg, 1600 × 1200 pixels, a lightbulb outlined in black with orange rays, on white, with a faint grey shadow under it. It has to sit on a navy slide without a white box or a pale fringe. Settings: White or paper, clean-up 5, Keep original colours, Crop to the content, space 40 px, PNG.
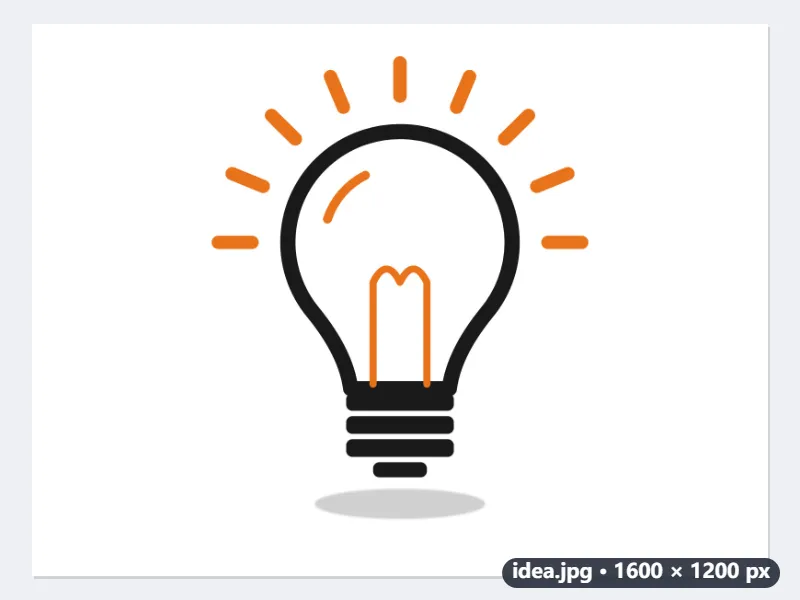
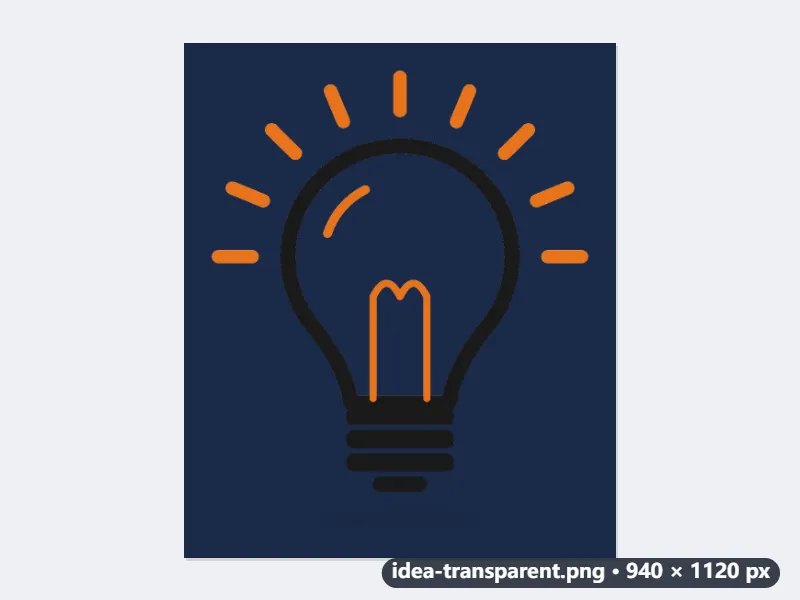
- The white is estimated across the picture and becomes transparent, along with the faint grey specks JPEG leaves around the lines.
- At strength 5, marks fainter than 17 % go and marks stronger than 57 % become solid; between the two, edges stay soft.
- An edge pixel that is half orange, half white (#F4B98D) comes back as orange #E9721A at 69 %, so on navy it fades into orange, not into a white halo.
- The inside of the bulb is white too, so it also becomes transparent: on the slide the bulb is filled with navy, which suits a line drawing.
- The bulb and rays measure 820 × 1000 pixels; with a 2 % margin (20 px) and the 40 px of space, idea-transparent.png is 940 × 1120.
| On the JPG | Clean-up 5 | Clean-up 8 |
|---|---|---|
| White #FFFFFF | transparent | transparent |
| JPEG speck #F2F2F2 | transparent | transparent |
| Faint shadow #D0D0D0 | black at 4 % | transparent |
| Orange edge #F4B98D | orange #E9721A at 69 % | orange #E9721A at 47 % |
| Orange #E8731A | orange, solid | orange, solid |
| Black outline #1A1A1A | black, solid | black, solid |
idea-transparent.png sits on the navy slide with clean orange and black edges. At clean-up 5 the shadow is a 4 % veil you will hardly see; 8 removes it, at the cost of thinner, more see-through edges. For a photo of a person or a product, use Remove image background instead.
How it works
- Drop an image with a white background, or a photo of something written, drawn or stamped on paper. Several can be done in one run.
- Choose White or paper for white backgrounds, or One plain colour for a logo on blue, black or any other single colour.
- If paper texture or a shadow remains, raise the clean-up strength; if thin lines disappear, lower it.
- Press Make transparent and download the transparent PNG.
Frequently asked questions
- Can it remove the background behind a person or a product?
- No. This tool turns white paper or one plain colour transparent, with no AI model involved. For a photograph of something — a person, a product on a table, a pet — use Remove image background, which finds the subject with an AI model. This page is the one for whatever sits on plain white: signatures, stamps, logos and scanned drawings.
- Does it work on a phone photo of a page?
- Yes. Light falls off across a photographed page, so the tool estimates the paper colour around the marks and corrects for it, and the darker corners become transparent too. If a strong shadow remains, raise the strength or retake the photo from straight above in even light.
- Why did the white parts inside my logo become transparent?
- White or paper removes every white area, including white letters inside the design. If the background is a colour other than white, choose One plain colour and the white inside the logo is kept.
- Will the edges have a white fringe?
- No. Semi-transparent edge pixels get back the colour they had before the white was mixed in, so the result also looks clean on dark backgrounds.
- Which clean-up strength should I use?
- Start at 5: marks fainter than 17 % disappear and anything stronger than 57 % becomes solid. Each step moves both by 3 points: at 8 they are 26 % and 66 %, enough to clear grey shadows and pencil; at 3 they are 11 % and 51 %, which keeps fine, light lines. The preview shows the result as you move the slider.
- What does Crop to the content do?
- It cuts the picture down to what is left once the white is gone, with a margin of 2 % of the longer side (at least 4 pixels), plus the space you set. An 820 × 1000 drawing with 40 px of space comes out 940 × 1120.
- Is my image uploaded?
- No. It is processed in your browser, and there is no AI model to download. The free plan handles 3 images per run, 20 MB each and 5 runs per day.